We are currently investigating an issue with BrightPay and have temporarily restricted some levels of access

In the Employee - Personal Details section of the Client Portal a user can access basic Employee Information. This information can be edited (except the employer's name) and saved once the user has permission to do so. Details entered or any changes saved by a user will be updated in the Client Portal and in the employer in BrightPay.
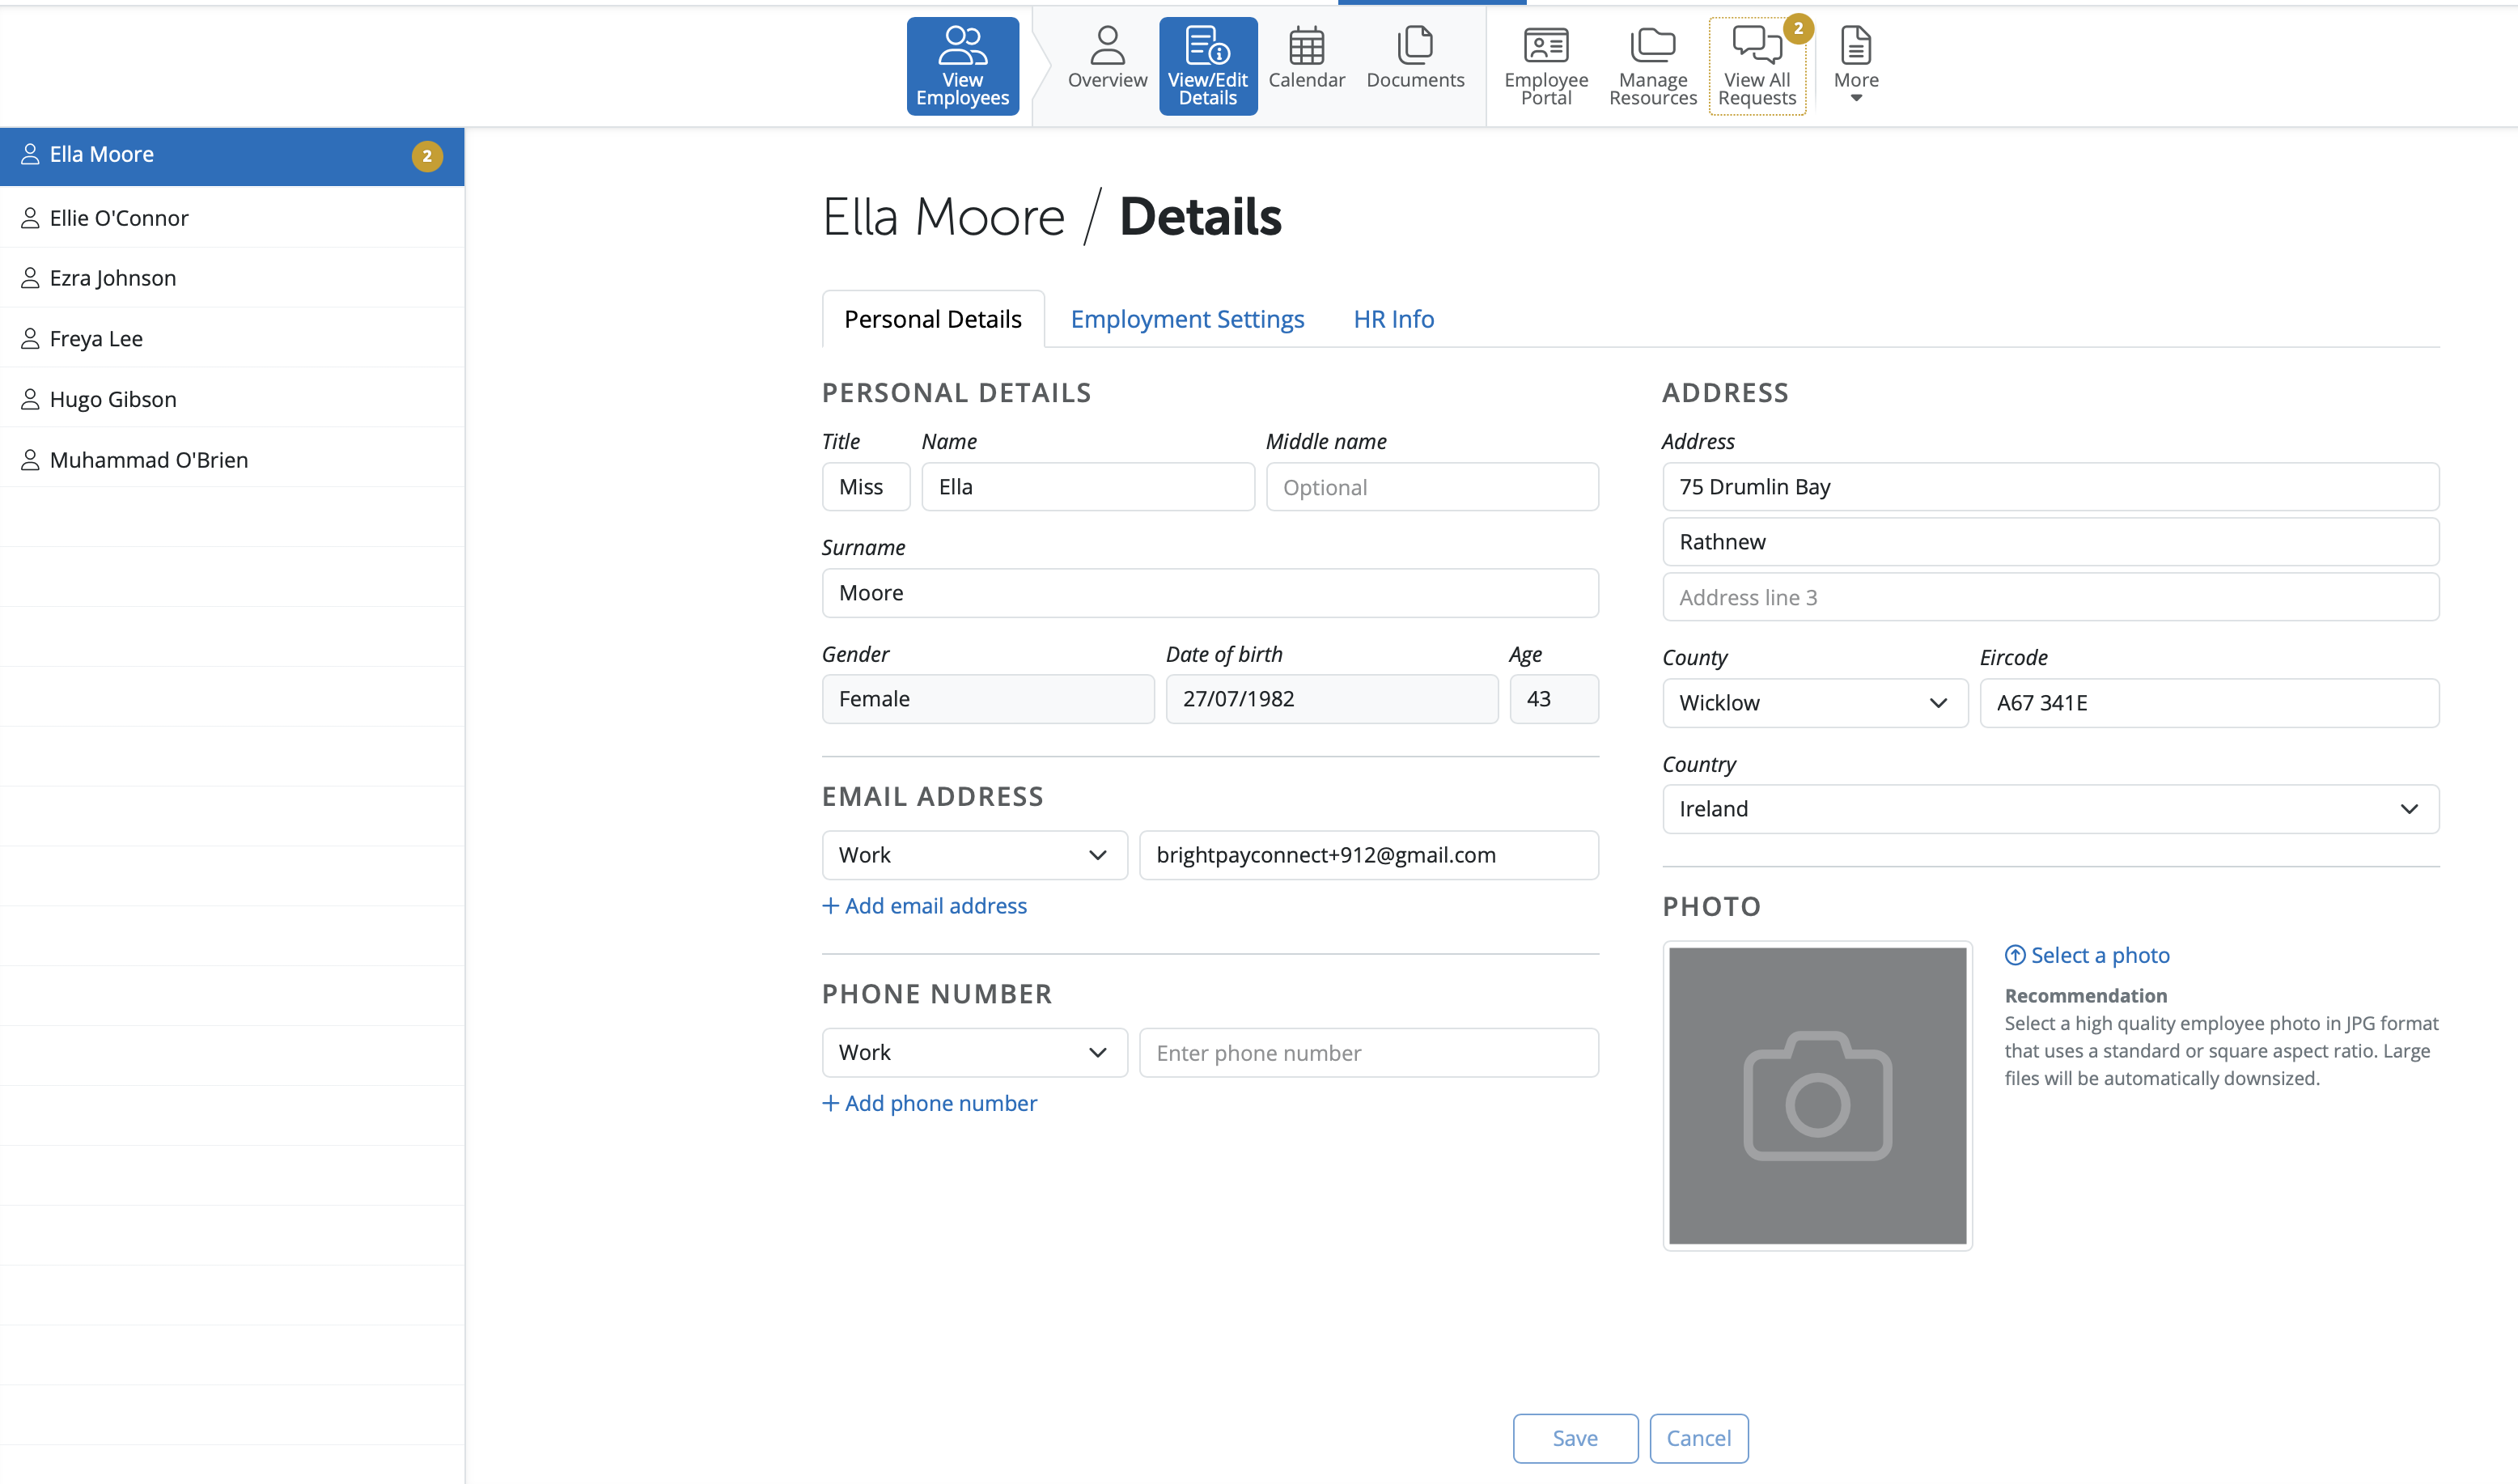
View the Personal Details for an employee as follows:
View/Edit the employee's title.
View/Edit the employee’s first name.
View/Edit the employee's middle name, if applicable.
View/Edit employee's surname.
The employee’s date of birth can be viewed but not edited. A date of birth is required if the employee is over 66, under 16 or their PPS number is unknown.
The employee’s gender can be viewed but not edited.
Enter the employee’s address, if known. Please note that the employee’s address is required if the employee’s PPS number is unknown.
Click Add Email Address to add a contact email address for the employee. Select whether it is a work address or a personal address from the drop down menu and enter the employee’s email address. To add additional email addresses, click Add Email Address again and repeat the process. If more than one email address is added, specify which is to be the primary address. The primary email address will be used for the emailing of payslips in BrightPay, etc.
Enter a contact telephone number for the employee. Select whether it is a work or personal phone number from the drop down menu and then enter the telephone number. To add additional phone numbers, click Add Phone Number and repeat the process. If more than one phone number is added, specify which is to be the primary contact number.
To add the employee’s photo to their record, double click on the photo icon and browse to where you have the photo saved.
THE EMPLOYEE’S PERSONAL DETAILS ARE NOW COMPLETE. SELECT THE ‘EMPLOYMENT’ TAB TO CONTINUE TO SET UP THE EMPLOYEE’S RECORD.
Need help? Support is available at 01 8352074 or [email protected].


Copyright © 2026 Thesaurus Software Ltd T/A Bright Software Group.
Unit 35 Duleek Business Park, Duleek, County Meath, A92 N15E, Ireland
[email protected] 01 8352074