Employer Portal - Settings
The Settings page allows a user to set notifications, add employer contact details, upload data from a previous tax year, configure employee self service options, select calendar display options, mark an employer as confidential and to delete an employer from BrightPay Connect.
Please note: Some of the options in the Settings tab are only accessible by Administrators and are not available to Standard Users.
Employer Details
1) Within your BrightPay Connect Account, click into your Employer Portal and select 'Settings' followed by 'Employer Details'.
2) Enter in the Contact Details for Employees - the contact details entered will be visible to employees on their Self Service dashboard.
3) Upload 'Your Logo' - upload your company logo in JPG, PNG and GIF file format, if desired. Your logo will subsequently be displayed to your employees on their login page.
4) Click 'Save Changes' on completion.
Employee Notifications
1) Select 'Employee Notifications' to set an email signature and employee email notification preferences.
2) If you would like to automatically schedule and send email notifications to your employees when payslips become available, tick the options you would like to enable. You can choose to enable payslips notifications. You can also choose to disable notifications for zero payslips.
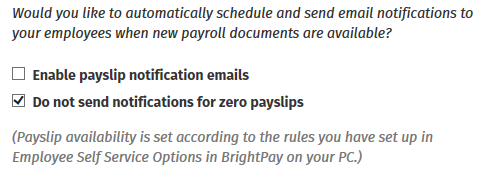
Please note: Document availability is set according to the rules you have set up in Employee Self Service Options on BrightPay on your PC or Mac.
3) If you would like to set an 'Email Signature', enter your signature accordingly. Click 'Send test email' to send a test mail to your user email address.
4) Click 'Save' to save your amendments.
Calendar
1) There are different options that can be selected for an employer or an employee to view in Connect.
2) The option for the calendar and annual leave entitlement to be displayed are available to select as required.

3) The display of number of months on the calendar for both employer and employee can be selected. Options are 3 months, 6 months, 9 months and 12 months display.
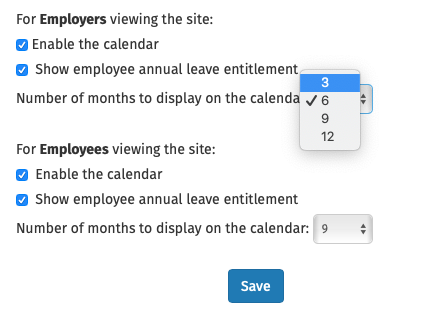
4) Select the options you require and 'Save'.
Employer Notifications
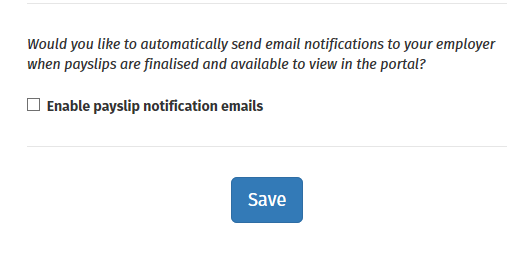
A notification email can be sent to an employer from Connect when payslips are finalised in BrightPay and are available to view in Connect.
1) Select 'Enable payslip notification emails' in order to activate this function.
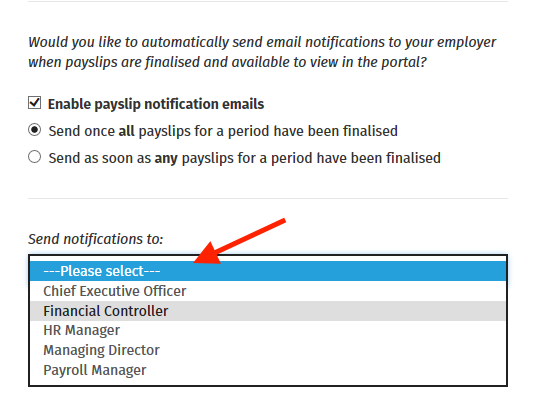
2) The payslip notification email can be sent once 'all' payslips are finalised for a pay period or as soon as 'any' payslip is finalised for a pay period. Select the applicable option that you want the notification to be sent on.
3) In the 'Send notifications to' you can select the recipient of the payslip notification email.
4) Select 'Save' once the options have been selected.
Upload Data
1) To add data from a previous tax year to BrightPay Connect, click 'Upload Data'.
2) Click on 'Upload' and browse to the location of your BrightPay file for the previous tax year and select the employer data file.
3) Click on 'Upload' again.
Employee Self Service
The Employee Self Service option allows you to enable options that can be made available to employees on their self service portal such as requesting leave or requesting change of employee personal details.
1) Select whether you would like to allow employees to request annual leave from within their Self Service portal.
2) Select whether you would like to allow employees to update their individual personal details within their Self Service portal.
3) Select whether you would like to allow employees to request to cancel leave from within their Self Service portal.
4) Click 'Save' on completion.
Confidential Employer
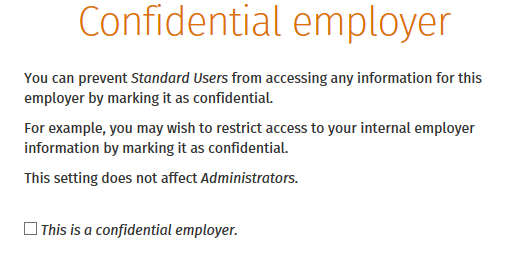
An employer in Connect can be marked as 'Confidential' so Standard users that do not have the permission to view confidential employers will not be able to view this employer when they log into the Connect account. All employers will remain visible to Administrators in the Connect account.
Please select the box for 'This is a confidential employer' if you wish the employer to be marked as confidential. Select 'Save Changes'.
Delete an Employer
1) To remove an employer completely from BrightPay Connect, click 'Delete'.
2) In the field provided, type in the employer name exactly as shown on the screen.
3) Click the 'Delete' button to completely remove this employer from BrightPay Connect.
Need help? Support is available at 01 8352074 or [email protected].