Processing Fortnightly Payroll
BrightPay caters for the processing of payroll on a fortnightly, monthly, fortnightly or 4-fortnightly basis. More than one pay frequency can be operated at any time within the same company dataset.
To set up an employee on a fortnightly pay frequency, simply go to Employees > Select Employee from listing > Payment and select ‘Fortnightly’ for ‘When is Employee Paid?’
Processing Fortnightly Payroll
To process fortnightly payroll, click ‘Payroll’ on the menu bar
Set up your Fortnightly Schedule as required and click Continue.
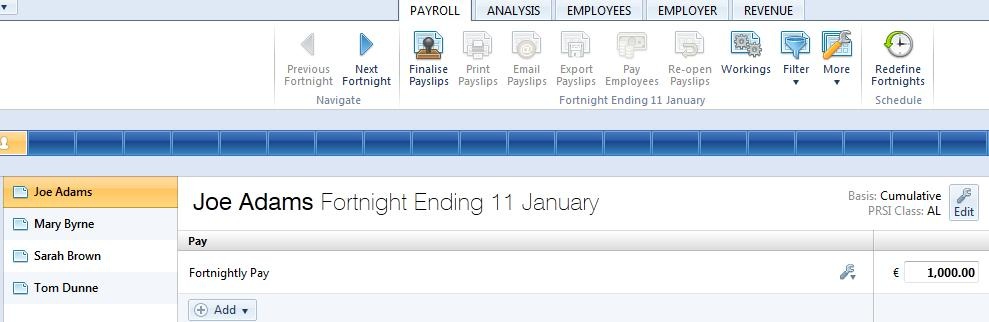
The first payroll period available for processing will be displayed at the top of the screen.
Your fortnightly paid employees will be listed in a summary view. To edit a particular employee’s pay, simply click on the employee name. The employee’s payslip view will be displayed on screen.
Pay
Fortnightly Pay - If the employee is paid a basic gross, enter the amount in the field provided. An ‘Edit’ facility is available if you wish to enter an annual salary in order to calculate the equivalent periodic amount or you wish to perform a net to gross calculation. A ‘delete’ option is also available within the Edit facility, should you wish to completely remove a pay item.
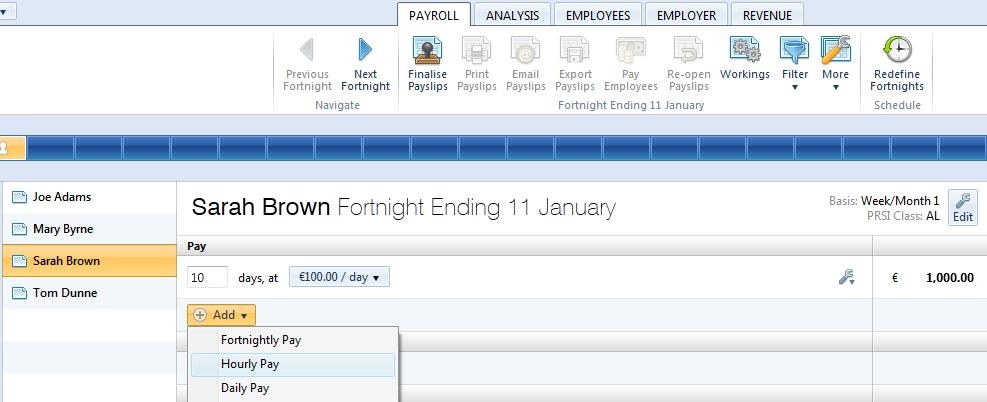
Hourly Pay - If an employee is hourly paid, the default rate entered in the employee record will be displayed. If this rate still applies, enter the number of hours required. To add more pay items, click the ‘Add’ button and select whether you wish to add a fortnightly pay amount, a daily pay amount or another hourly rate. To amend an hourly rate, click on the drop down menu and select an option from the list.

Daily Pay - If an employee is daily paid, the default rate entered in the employee record will be displayed. Bright Pay will automatically apply the number of days in the period based on the employee’s calendar. For example, if an employee normally works a 5 day week and a day of unpaid leave is entered in their calendar, the daily rate will be applied to 4 days. Should you wish to turn this automatic facility off and manually enter the number of days, simply click the ‘Edit’ button and untick the box.
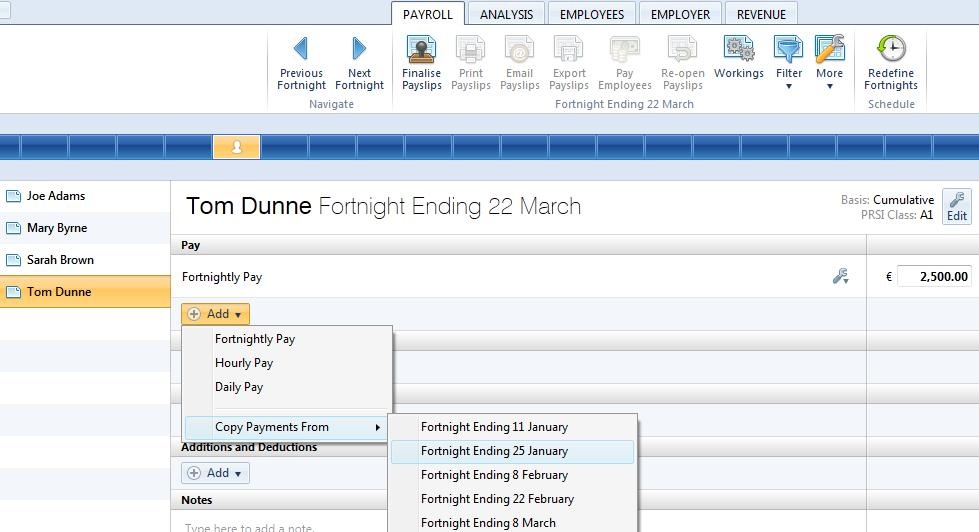
To add more pay items, click the ‘Add’ button and select whether you wish to add a fortnightly pay amount, a daily pay amount or another hourly rate. To amend a daily rate, click on the drop down menu and select an option from the list.
Copying Payments - An option is also available to copy payments from a previous pay period. Click on ‘Add’, followed by ‘Copy Payments From…’ and the relevant period number.
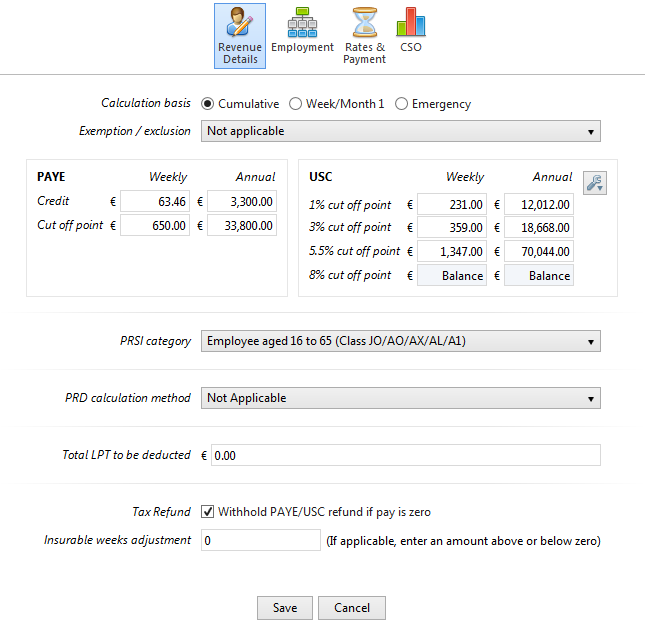
To edit an employee’s PAYE/ USC/ PRSI information, an ‘Edit’ button is available on the employee’s payslip. Settings which can be edited within this screen are the employee’s revenue details, their standard hourly/ daily rates and their departmental association.
Benefit In Kind
To set up a benefit in kind for an employee, please refer to the dedicated Benefit in Kind help section for assistance with this.
Parenting/ Illness Benefit
Should the employee be in receipt of Maternity/Adoption/ Illness Benefit, please refer to the dedicated Parenting Leave and Illness Benefit help sections for assistance with this.
Additions & Deductions
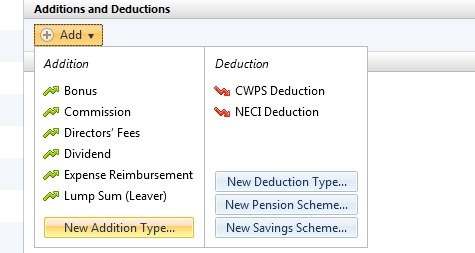
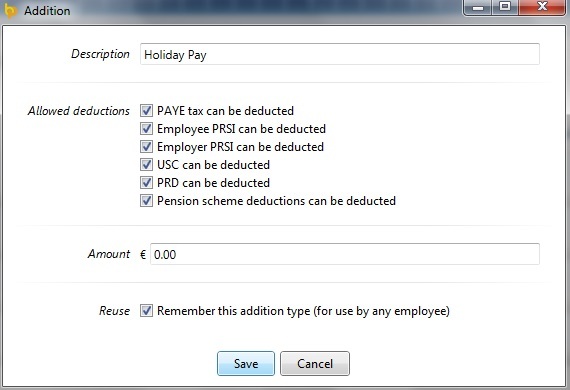
Additions - To set up an addition, click on the ‘Add’ button within the ‘Additions & Deductions’ section. If applicable, select a preset addition from the list and enter the desired amount. To add a further addition repeat this process. If you wish to add an addition which is not available in the preset list, simply choose ‘New Addition Type’. Enter a description of your choice and the amount required. Set whether the addition is to be subject to PAYE/ USC/ PRSI etc.
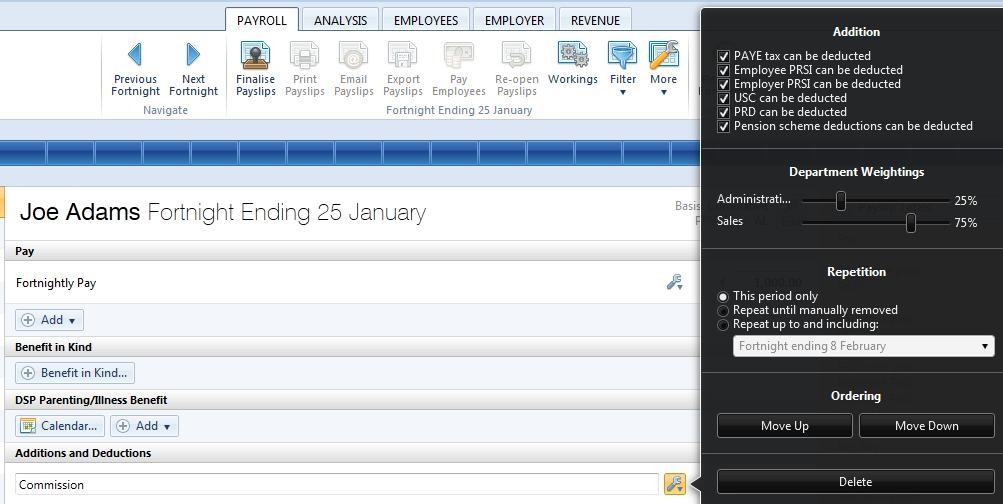
Should you wish to edit the additions you have set up, simply click the ‘Edit’ button. Here you will find a facility to set an addition to repeat every pay period until you choose to manually remove it or to repeat up to and including a particular pay period in the future.
If you wish to re-order any additions you have set up, an ‘Ordering’ function is also available here.
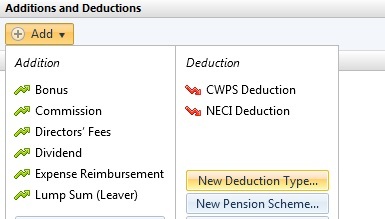
Deductions - To set up a deduction, click on the ‘Add’ button within the ‘Additions & Deductions’ section. Select a preset option from the list or choose ‘New Deduction Type’ to setup a deduction of your own. Enter the amount desired and description, if applicable. Set whether the deduction is allowable or non-allowable for PAYE/ USC/ PRSI etc. To add a further deduction repeat this process.

Should you wish to edit any deductions you have set up, click the ‘Edit’ button opposite the applicable deduction. Here you will find a facility to set a deduction to repeat every pay period until you choose to manually remove it or to repeat up to and including a particular pay period in the future .In addition, if you wish to re-order any deductions you have set up, simply use the ‘Ordering’ facility provided.
Notes
To add a note to an employee’s payslip, click on the Notes section within the payslip view and type in your narrative. When payslips are finalised, this note will subsequently appear on the payslip.

After completing an employee’s pay, either return to the summary view by clicking on the tab button to the left of the screen or simply select a name from the list to edit the next employee’s pay.
Need help? Support is available at 01 8352074 or [email protected].